Create a group
【For administrators】
What is the group?
You can create groups for each branch office or department to manage employee.
When registering employee, select the group they belong.
(The group selected at this time is called the main group in this system)
By default, a group with the same name as the company name is registered. Add groups as necessary.
When registering employee, select the group they belong.
(The group selected at this time is called the main group in this system)
By default, a group with the same name as the company name is registered. Add groups as necessary.
- Click Groups and Managers
.png)
.png)
- Click + icon to Create a new group
.png)
- Enter the details of the group. (The salary transfer setting is displayed only when the corporate account is registered in advance.)
【Basic information】
Enter basic information. * are required items.
.png)
Start date Set the date to start using the group.
Path Select when you want to organize group hierarchy. If it is not selected, it will be placed directly under the head office. (Only valid groups as of the application date can be selected)
To organize group hierarchy, click here.
【Detail information】
Enter detailed information such as location. (Optional).png)
【location information】
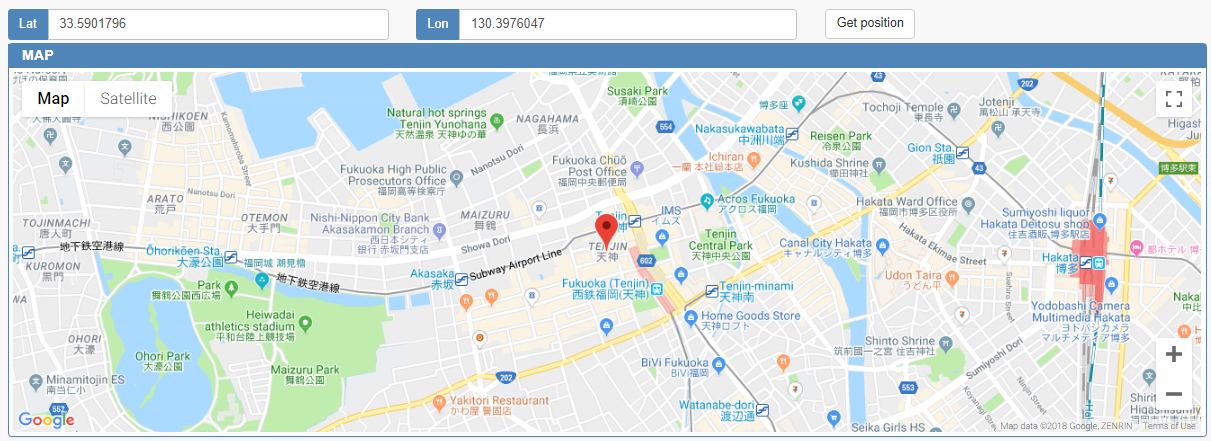
The location on the map is displayed. Press "Get Position" to get the current location. (Optional)
【Salary transfer setting】
- If you ticked the box for ''Give priority to request names of the main group'' in the corporate bank account setting, the name registered in this ''transfer name'' field for the group will be reflected as a payer name.
* The transfer setting tab is displayed only when the corporate account is registered in advance.
To register corporate bank account, click here.

4. Click Create.
- Setting of group administrator is available here
- About administrator's authority management, click here
