Set allowance deductions on working conditions

【For administrators】
Allowance / deduction is set by the following.
Here, we will introduce the procedure to set allowances / deductions in working conditions ②.
When setting the same allowances / deductions for employees sharing same working condition, assign the item from the working condition.
If the allowances / deductions amount of money differs for each employee, it is better to assign items from the employee working condition.
①Register the allowance master
Register the deduction master
②Set allowances / deductions on working conditions
③Set employee working conditions
④Where to enter allowances / deductions
-
Click on Company working conditions.
.png)
.png)
-
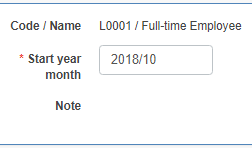
Select working conditions that allowances to be applied
.png)
Or, if you want to change the one from the past, click the icon to the right of the name.
.png)
In the setting history, click the period in which you want to reflect the setting.
However, it can not be changed for a month when company closing is completed, or the start application date isoutside the range of two months before and after the current month.
* The setting can be done by cancelling the company closing. About application start date of working conditions.png)
- Allowance / Deduction
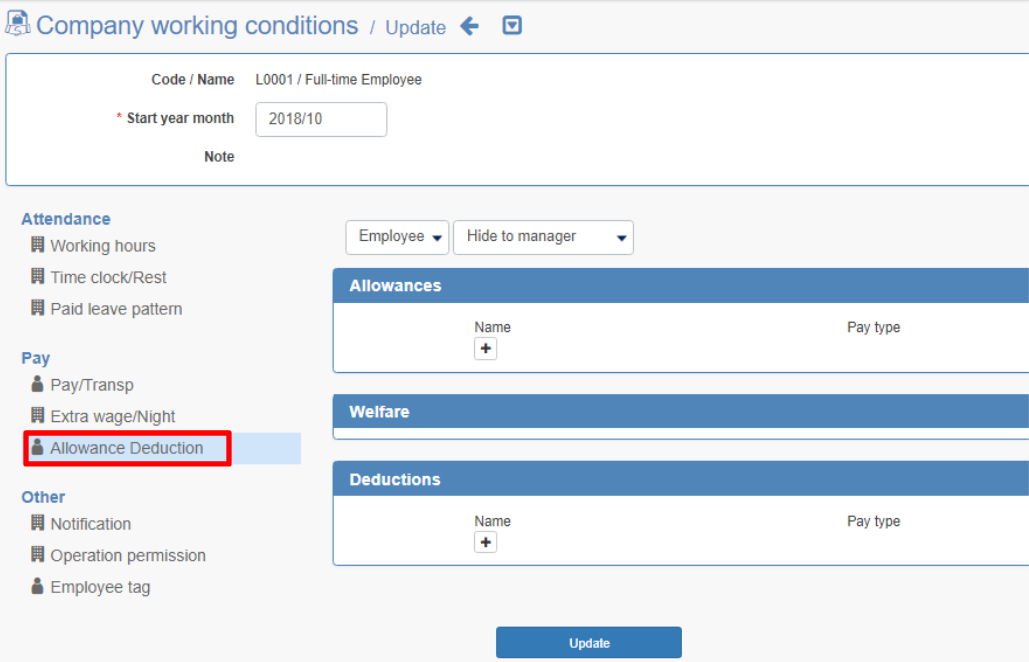
About management unit
Select Common when you want the item to be applied to all the employee under the selected working condition.
If you select Employee, you can change the contents of allowances / deductions for each employee.
If you want to change allowances / deductions for each employee, select Employee and go to step 5 below.
Set employee working conditions
Details of management unit. Click here
Allowance
- Click +

- If the allowance has already been registered with the allowance master, the allowance name will be displayed.
Please select a name.
(Register an allowance master)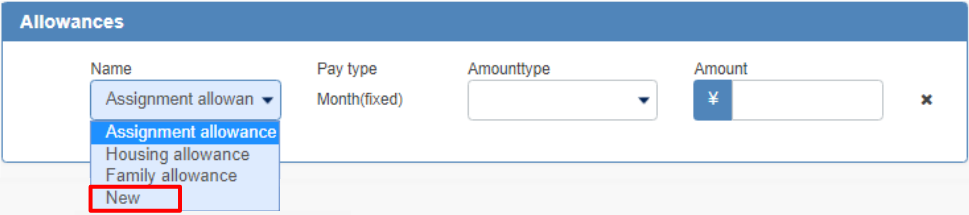
- When the allowance registration screen is displayed, enter details and click Register.If you have already registered benefits at the allowance master, go to step 4.
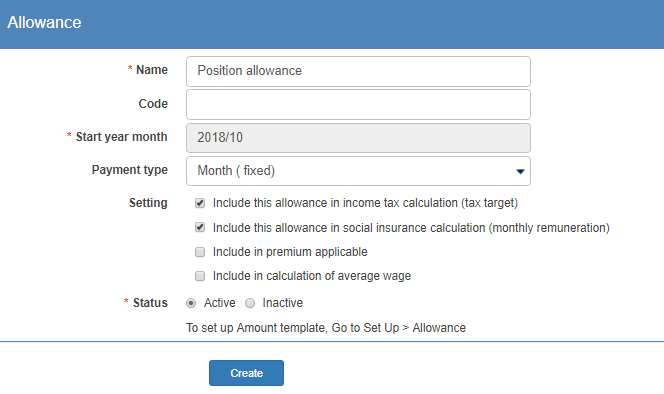
- Name: Enter the name of the allowance.
- Code: Input is optional.
- Start year month: This is the year and month that allowance can be used. It is the same as the start date of working conditions.
- Payment type: Select how to give allowance. Please refer to the table below.
Payment type Frequency Amount of money Where to input Description Month (fixed) Every month Fixed - Fixed amount will be paid every month. Month (input) Every month Flexible Payslips menu Use it monthly if the amount of allowance fluctuates, or it should not be deducted every month.
Enter the amount in the Payslips menu.Service number Every work Flexible Timesheets menu Set the allowance amount per one time, input the number of times you want to set allowances.
It is calculated by times × unit price.Working hours Working time Flexible - Select the time item to be targeted.
It is calculated by time x unit price.Work (input) Every work Flexible Timesheets menu Input the amount on the day you want to set allowances. - Setting: Choose whether to include allowances in income tax calculation, social insurance fee calculation, premium unit price, average wage.
- Status: Please select Active.
- Name: Enter the name of the allowance.
- Enter the amount.
If you have created an amount, you can select a unit price from the unit price selection.
For the allowance for the classification "Month (input)" "Work (input)", enter the amount of money at each input destination.
Deduction
- Click +

- If the deduction has already been registered in the deduction master, the deduction name will be displayed. Please select a name.
(Register deduction master)
- In the deduction registration screen, enter details and click Create.
If you have already registered deductions in the deduction master, go to step 4.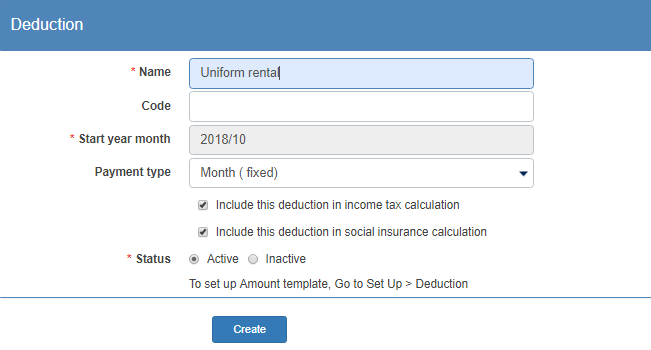
- Name: Enter the name of the deduction item.
- Code: Input is optional.
- Start year month: This is the year and month that allowance can be used. It is the same as the start date of working conditions.
- Payment type: Select the deduction indicator. Please refer to the table below.
Payment type Frequency Amount of money Where to input Description Month (fixed) Every month Fixed - Fixed amount will be deducted every month. Month (input) Every month Flexible Payslips menu Use it monthly if the amount of deduction fluctuates, or it should not be deducted every month.
Enter the amount in the Payslips menu.Service number Every work Flexible Timesheets menu Set the deduction amount per one time, input the number of times you want to set deductions.
It is calculated by times × unit price.Working hours Working time Flexible - Select the time item to be targeted.
It is calculated by time x unit price.Work (input) Every work Flexible Timesheets menu Input the amount on the day you want to set deductions. - Select whether to include deduction for income tax calculation and social insurance fee calculation
- Status: Please select Active.
- Name: Enter the name of the deduction item.
- Enter amount
If you have created an amount in the deduction master, you can select a unit price from the unit price selection
Enter the amount on the input screen for the classification "Month (input)" and "Work (input)" on each input screen.
- Select the date and time you want to apply
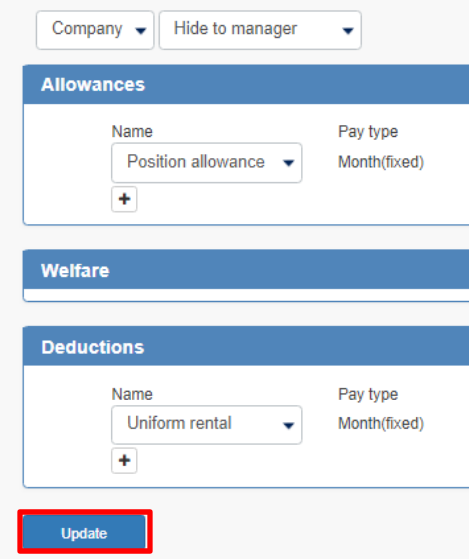
This would be all for the procedure of how to set the allowance and deduction at working conditions.